


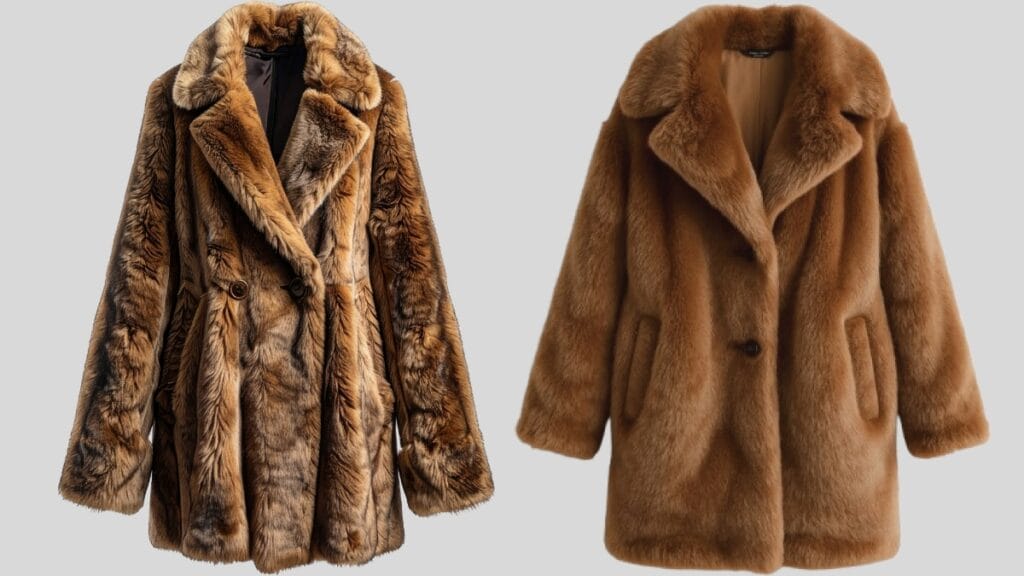
Sewing faux fur provides an array of textures that capture the eye and are appealing to many designers. Using real fur is often expensive and provides the same texture without the ethical concerns. Many beginning sewists are intimidated by the mess that faux fur creates.
Faux fur is not as bad as many sewists think. Knowing the right tools and the correct techniques can make faux fur an enjoyable experience. Many sewists use various techniques to manage the fur and complete their projects without fur getting everywhere.
This blog will provide invaluable insight into Faux fur that will give you the same insights as designers. Paying attention to the details will allow you to sew confidently.
Table of contents
What Makes Sewing Faux Fur Difficult to Sew
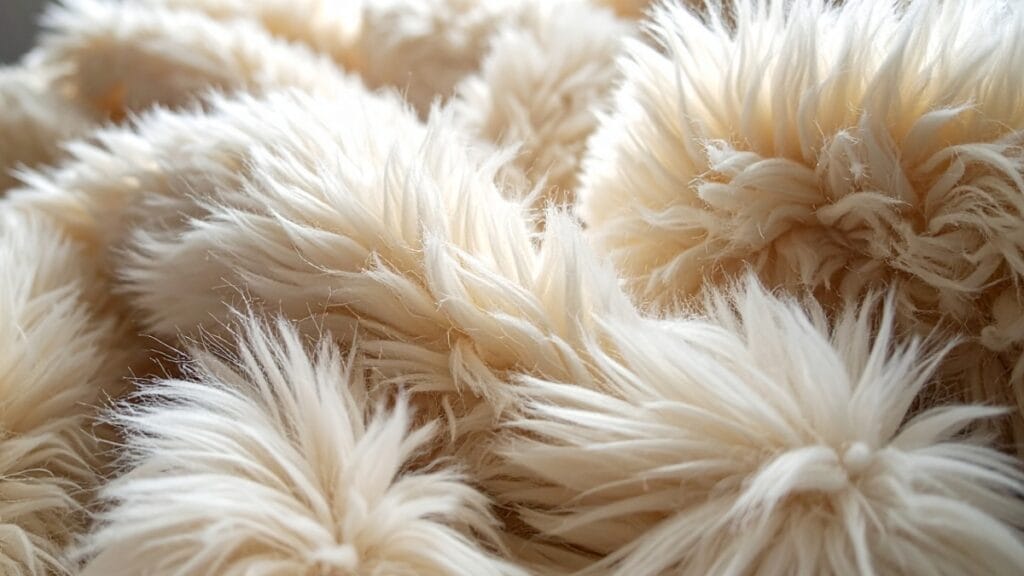
Before sewing faux fur, you must understand its structure. Faux fur usually features a knitted or woven backing with long synthetic fibers attached. These fibers create thickness, movement, and warmth, but they also introduce challenges.
When sewing faux fur, the pile hides seam lines and sheds aggressively when cut. The thickness can also stress needles, thread, and machine settings. Without preparation, seams look bulky and uneven.
Designers never rush sewing fur. Instead, they respect the fabric’s behavior. Once you work with the pile rather than against it, sewing faux fur becomes far more manageable.
Cutting Sewing Faux Fur the Professional Way
Cutting fabric is vital to any sewing process, including faux fur. Most low to mid tier designers wouldn’t cut through the pile, choosing to slice through the pile to the back instead. Most professionals avoid this.
For faux fur, professionals cut through the backing only. This keeps the fur length optimal and minimizes shedding and mess. Place the fabric with the pile side down, and slice through the back of the material. Fold your pattern.
Most designers tend to use a specific type of cutting mat, being a self healing type. This type of mat provides stabily and protects the mat. Rave reviews for sewing fur projects usually revolve around the cut.
The Best Marking Tools for Sewing Faux Fur Projects
Marking is the most subtle faux fur process. The markings keep the sewing on track, but heavy pen marks can stain through the backing and even the pile. Once the pile is with the backing down, the designer can use chalk.
It’s best to mark the backing side of the fabric pile. This side protects the pile and will show less to the eye. Light marks keep the sewing of the faux fur tracks on the proper outlines.
Using faux fur to hide seams, which is designed to be used to show. The use of faux fur projects is designed to be inappropriate. Excess guidelines can be inappropriate, but even the best designers can get overzealous with faux guidelines.
Needles Designers Use for Sewing Faux Fur
Sewing fur can be ruined by using the wrong needle. Needles that fur designers use are strong, sharp, and can penetrate thick backing without missing any stitches.
When using faux fur, universal needles operate efficiently. However, for dense and heavy piles, the use of denim or jeans needles works better. These needles perform well and handle resistance while still maintaining a formation of clean stitches.
When sewing fur, designers often replace needles a lot. This is to ensure that uneven seams and broken threads are the least of their concerns by using a fresh needle.
Thread Choices that Matter in Sewing Faux Fur
When sewing fur, the choice of thread that designers use matters a lot. Polyester threads are the main choice of designers and for valid reasons. These threads do not snap under tension and can sustain heavy weights, unlike cotton threads.
Even when the fur is bold, neutral colors are the best choice. In faux fur, stitches are concealed by the pile so to their eye, the correct color combination does not match when sewing fur. For durable and reliable seams, the thread quality must be consistent.
Presser Feet That Make Sewing Faux Fur Easier
When faux fur, the use of a walking foot is a designer favorite because of how easily layers shift because of their thickness. A walking foot feeds both layers through the sewing machine evenly.
Without using a walking foot, seams tend to stretch and creep. To avoid flattening the pile, designers also lower the pressure a bit. This tiny detail changes the whole experience for sewing fur.
Designers Adjust Sewing Machine Settings
Designers will never sew faux fur using the default machine settings. They lengthen stitch size to minimize puckering and lessen the stress on the fabric. Short stitches get lost in the pile and weaken the seam.
Tension adjustments are also important. Before sewing the faux fur pieces together, do test stitches on scraps. If the tension is unbalanced, the seam will be stiffer and the stitches will be more rough. All of these adjustments will make faux fur less frustrating later on.
The Right Way to Pin and Hold Sewing Faux Fur
When faux fur, pins often do not work. They bend and crush the fibers. Designers use fabric clips because they hold without damaging the pile.
Clips also make sewing fur more efficient. They are easy to see, hold more than one layer of fabric to make sewing easier, and use less hand strength to pull. Even this small detail increases faux fur more.
Sewing Faux Fur Like a Pro
The most difficult and most annoying challenge is seam bulk. Designers get around this by trimming the pile from the seam allowances before they sew them together. They use small scissors to carefully remove the excess fibers.
This method also allows the seams to lay more flat. After sewing the faux fur seams, designers brush the fibers to hide the stitches. This sleek look is the result.
Brushing and finishing Sewing Faux Fur seams
Brushing faux fur after sewing gives a final look rather than sewing fur and finishing seams. Designers free trapped fibers with pet brushes, wide-tooth combs and fingers.
Along seam lines, brush until stitches disappear. This step gives a professional look to homemade projects. When faux fur, always do this finishing step.
Controlling shedding while sewing faux fur
Shedding will always occur, but good designers control it. They vacuum a lot and keep lint rollers. Many shake cut pieces before faux fur pieces together. Covering workspaces with disposable sheets helps a lot. Clean as you go to avoid a big fiber mess. When faux fur, good workspace habits always make the job less frustrating.
Hand Sewing Techniques Designers Still Use
Designers still hand sew some areas when sewing fur. Closures, hems and linings often require hand finishing. Because the pile hides them beautifully, ladder stitches work. When sewing fur by hand, strong thread and small stitches are the best. These finishing touches raise the overall quality.
Common Mistakes to Avoid When Sewing Faux Fur
Designers learn the hard way very early what not to do. Never directly iron faux fur. The synthetic fibers will melt. If needed, use steam from a distance but do it cautiously.
Test stitches, cutting, and rushing are all things you should avoid when sewing with faux fur. It demands patience and good preparation. Mistakes can happen, but saved fabric and time can still be made through prevention.
Conclusion
Designers don’t just use the best tools as they sew. They use thoughtful preparation, a few simple tricks, and tools. Once you learn how the faux fur behaves, you can be much more creative and expressive. You now have the confidence and control to tackle those faux fur projects. You can now achieve truly stunning work.
FAQs
1. Is sewing faux fur good for beginners?
Certainly, but only if the beginner is patient and starts with small projects.
2. Will I require a specialized sewing machine?
Of course not. Most domestic machines can sew faux fur, provided they are set up appropriately.
3. How do a lot of designers camoflauge their seams?
By cutting the fur shorter along the seam line, and brushing faux fur fibers away from the seam.